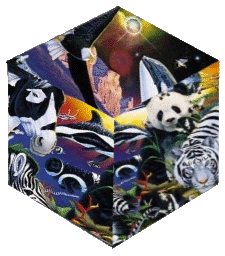
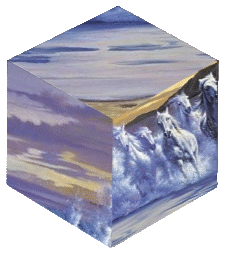
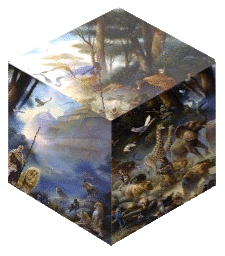
You start with downloading my cube. It is a zip and also in pictureit format.
Cube
This will open a new windown, close after downloading.
You open the box (after you unzip it!) and a graphic. A nice large scenic graphic works well with this. I chose

You will now go to CUTOUTS & POSITIONS/CUTOUT OF PICTURE/WITH COOKIE
CUTTER SHAPE. Choose a part of the graphic you want, and place the square over
it (you can adjust the size here also), then click next.
Make sure the part
of the graphic you want is the highlighted part, if so, then click Done. If NOT,
click CHOOSE SELECT OPPOSITE AREA and then click Done.
You can go ahead and
repeat this 2 more times, cutting out different parts of your graphic each time.
You will end with 3 squares.

You will now go back to the cube, and bring it up to work on. I drag one of
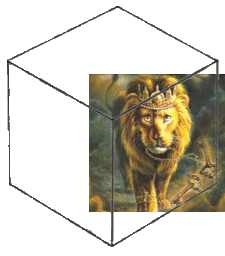
the squares onto the cube, from the bottom of your screen.
You will have to
slightly turn your square to give it the right look, and make sure it covers the
whole cube side you want it to. You can adjust and/or stretch the square to fit.
Don't stretch too much, or you will make your square look strange!
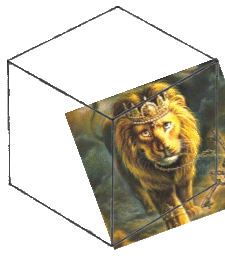
For the trimming part of your square, you will have to bring the cube forward
first by going to SIZE & POSITION/MOVE FORWARD OR BACKWARD, choose backward
if your square is highlighted, or click forward if your cube is highlighted, and
then click done. Now you should see the cube lines on your graphic! You need to
see these, to trim it! Make sure your square is now highlighted, and go to
CUTOUTS & PICTURES/TRIM CUTOUT/CUT A HOLE. Choose TRACE IT ON MY OWN. You
will click a corner of the CUBE box and a green flag shows up. You will now go
to the next corner of the cube square and click it, and do this till you see a
dotted line that follows the cube side lines. If you get off the line, don't
worry, you can adjust it! Click the green flag, and it becomes yellow. You will
now be able for adjust your lines. Take your cursor go over to the line that you
want to adjust, click the left mouse button down and hold it, then drag the
lines till they are where you want them, and let go of the mouse button. Once
you have the lines right, click on the yellow flag.
The new cube shaped
square will NOT be highlighted now, so be sure to click SELECT OPPSITE AREA and
then click Done! It should now look like this...
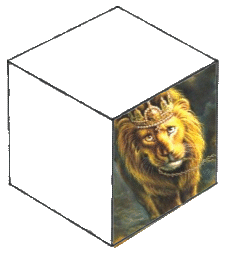
You will repeat the above directions for each of your squares, so that they fit the cube.
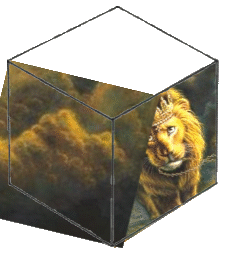
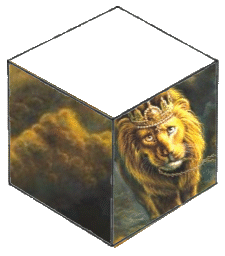
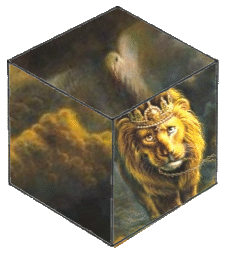
Your last thing to do, is once you get all your cube sides on, then go into SIZE POSITION/MOVE BACKWARD OR FORWARD. You will bring each of your cube sides forward, to cover up your cube lines! You don't have to leave MOVE BACKWARD OR FORWARD to do each one, just click each one and move them forward! And you should now have your cube...
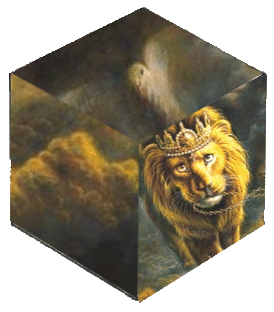
I save my cube in GIF format!
Other Cubes I have made...
