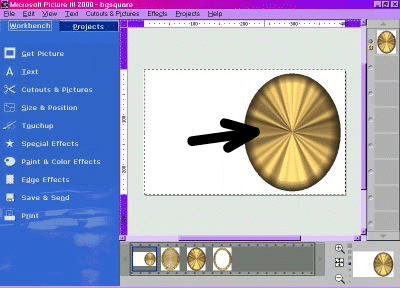
You need to save this for your animation later. Go to FILE at the top of your screen and choose SAVE AS
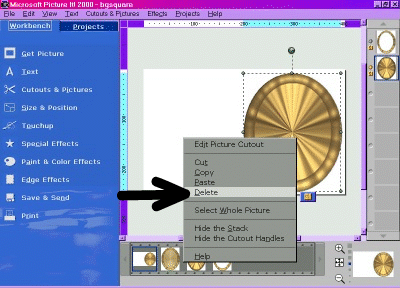
I chose to drag and drop the ring on top of the cover already in the rectangle and make the ring the same size and position, then just delete the cover, this way it stays lined up.

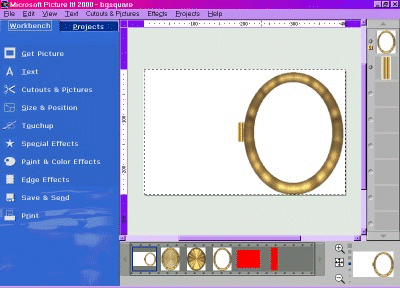
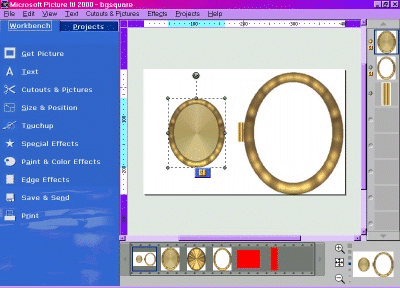
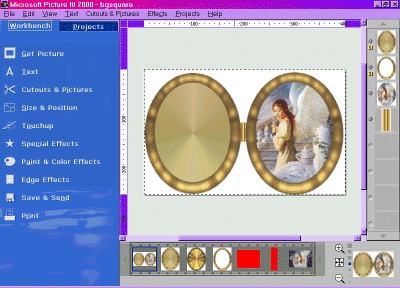
Now drag the inside of the cover to sit next to the empty right already on the right.

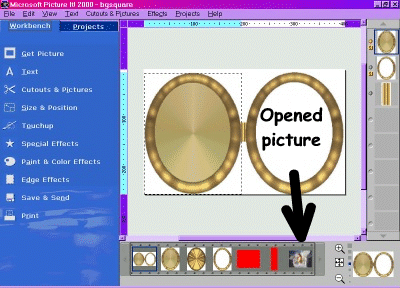
At this time, you can choose and ad your photo. Open your photo
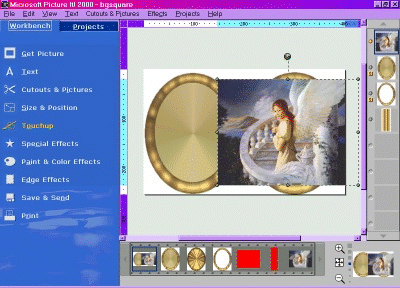
Go back to your locket and drag the photo up and resize it to cover the right side where the ring is at.
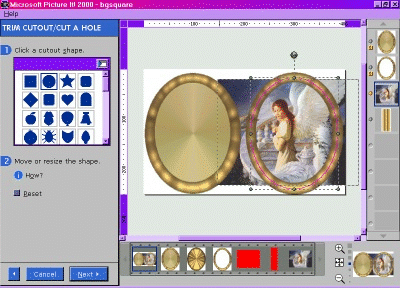
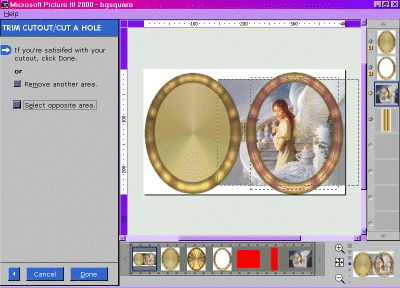
You will move it behind the empty ring by going to SIZE & POSITION/MOVE FORWARD or BACKWARD. Once you have placed it behind, you will select the photo and now trim it by going to CUTOUTS & PICTURES/TRIM CUTOUT/COOKIE CUTTER
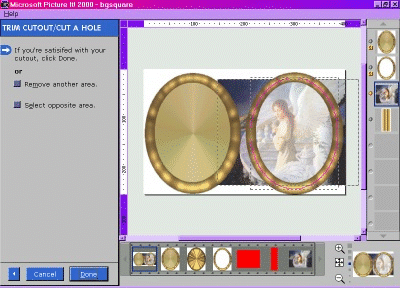
You will have to choose SELECT OPPOSITE AREA
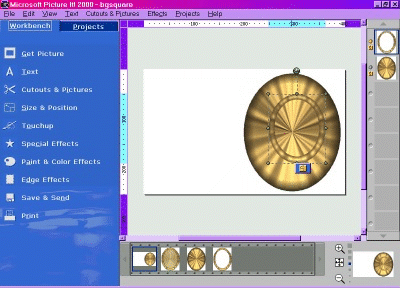
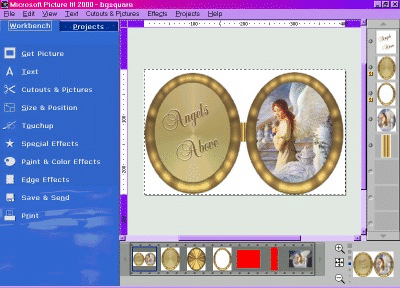
I added a little text on the left lid cover, this is optional!
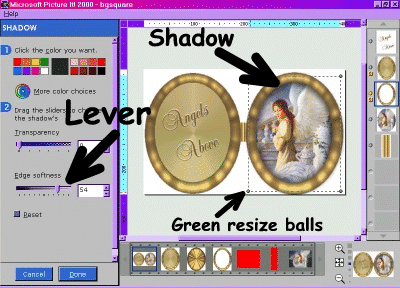
I also added a soft shadow under the rings on both the cover lid and photo. You can do this by selecting each ring and going to SPECIAL EFFECTS/SHADOW/SOFT SHADOW. Move the lever toward the right, to "blur" the shadow. Also for this to work, you have to resize the shadow with the green resize balls, so that you see more shadow on the inside of the ring and not on the outside of the ring.

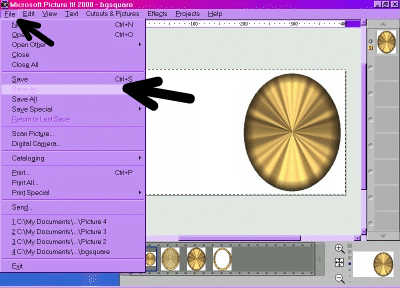
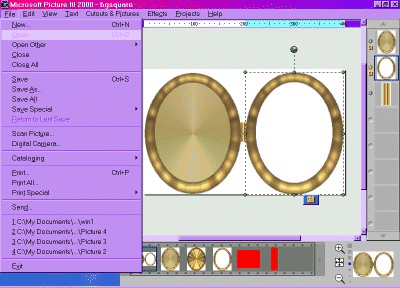
Again Save the by choosing FILE/SAVE PICTURE AS. Make sure you save them in GIF format or you will get the white boarder around them!!